
Introduction
Last week we created an embedded solution with an Arduino kit that measures temperature and sends temperature values to a serial port - https://indeema.com/blog/iot-lecture--1--temperature-measurement. This week let’s create a software for RasPi that reads data from serial port and ingests it to Predix server. If you still have not setup your Predix server, you can read this article on how to do that - https://indeema.com/blog/how-to-code-iot-with-ge-predix-beginning.
So, what do we need to create this kind of solution? There are many instruments that can help us, like Python, Java, C/C++ and Qt. As for me, the best framework to do so is Qt since it’s crossplatform having super-high performance, but it’s only my personal opinion. And to communicate with Predix Timeseries service we will use QPredix SDK. So let’s do that!
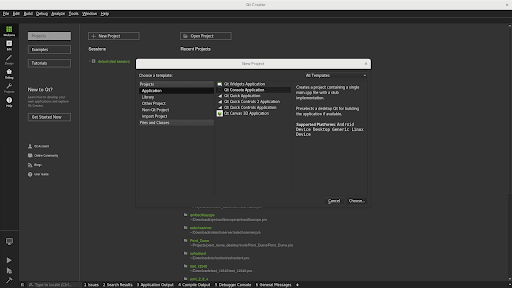
First, let’s create a new project. As we won’t use any display, let’s make our app console only.
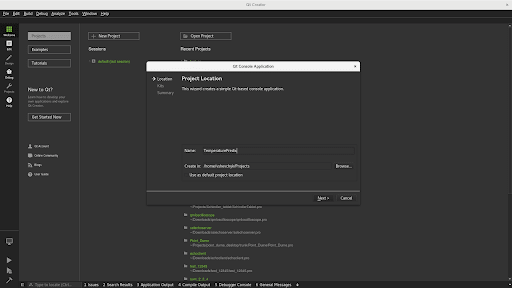
Then let’s name it.
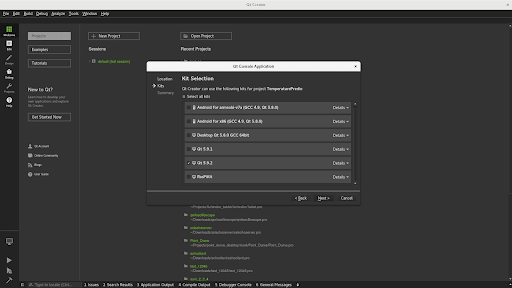
Now let’s choose a kit.
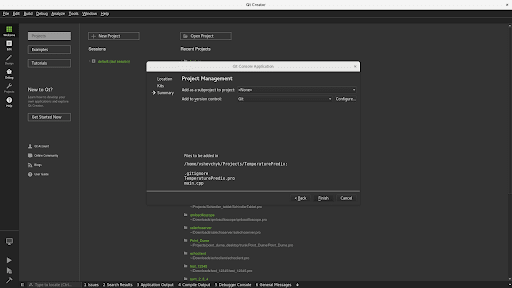
And always use Git or svn to keep soursecode versioned.
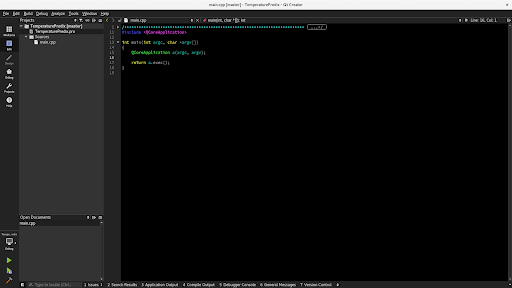
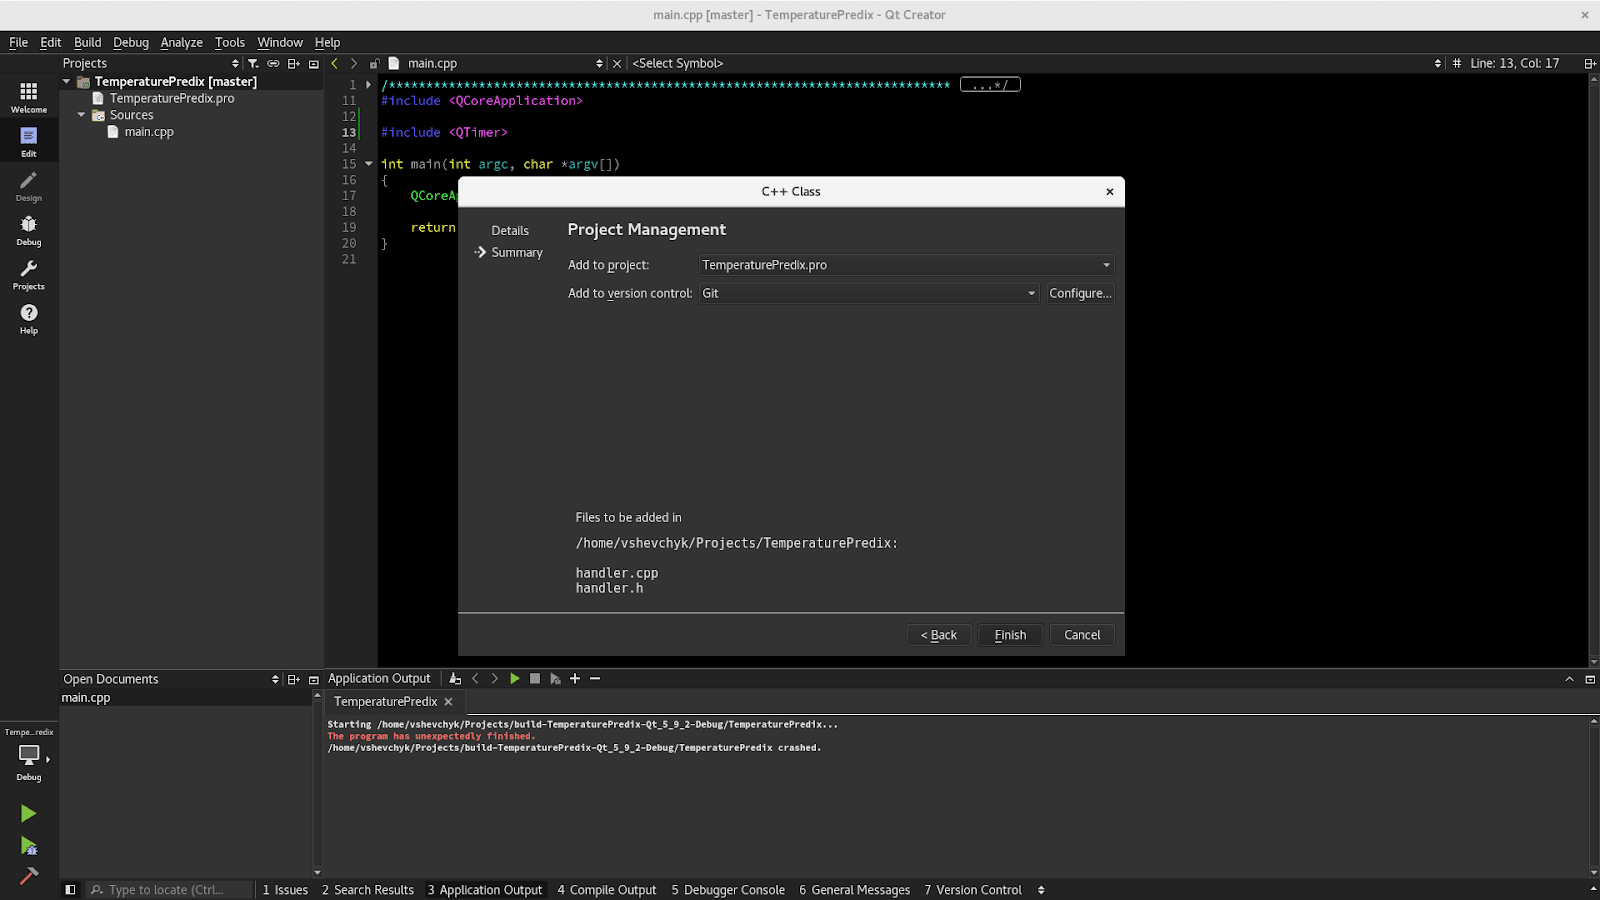
Good. This is what you can see now.
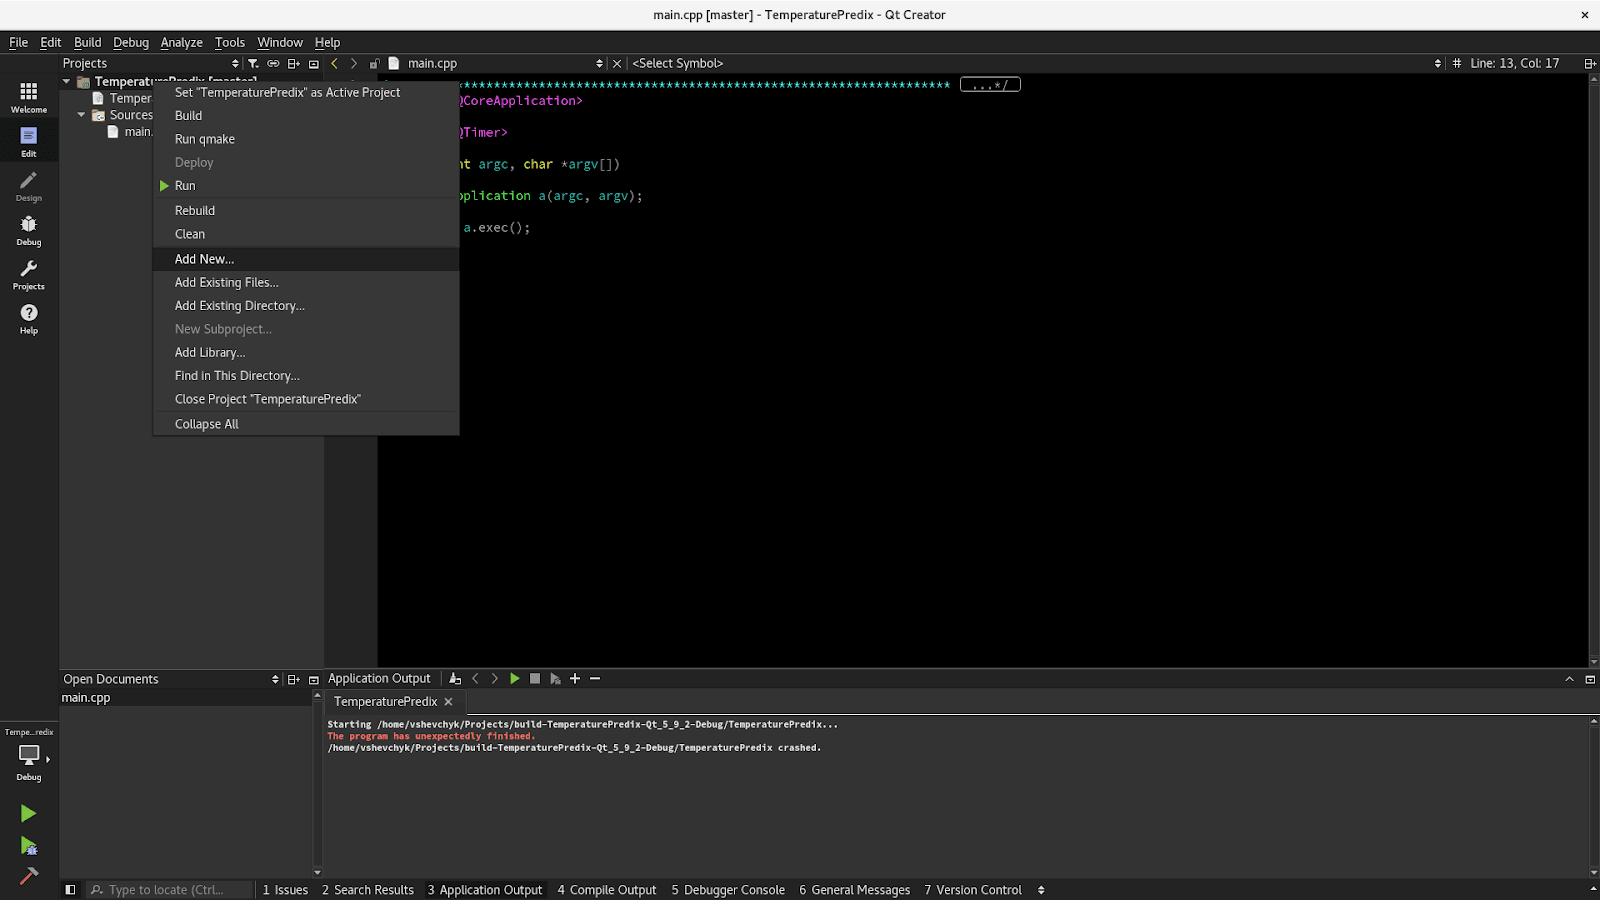
The Template project is created so let’s add the required functionality. Our application should read data from a serial port continuously and sends data to Predix server, so my proposition is to run a timer, that fires every 3 seconds, reads 10 samples, finds average temperature and sends it to cloud.
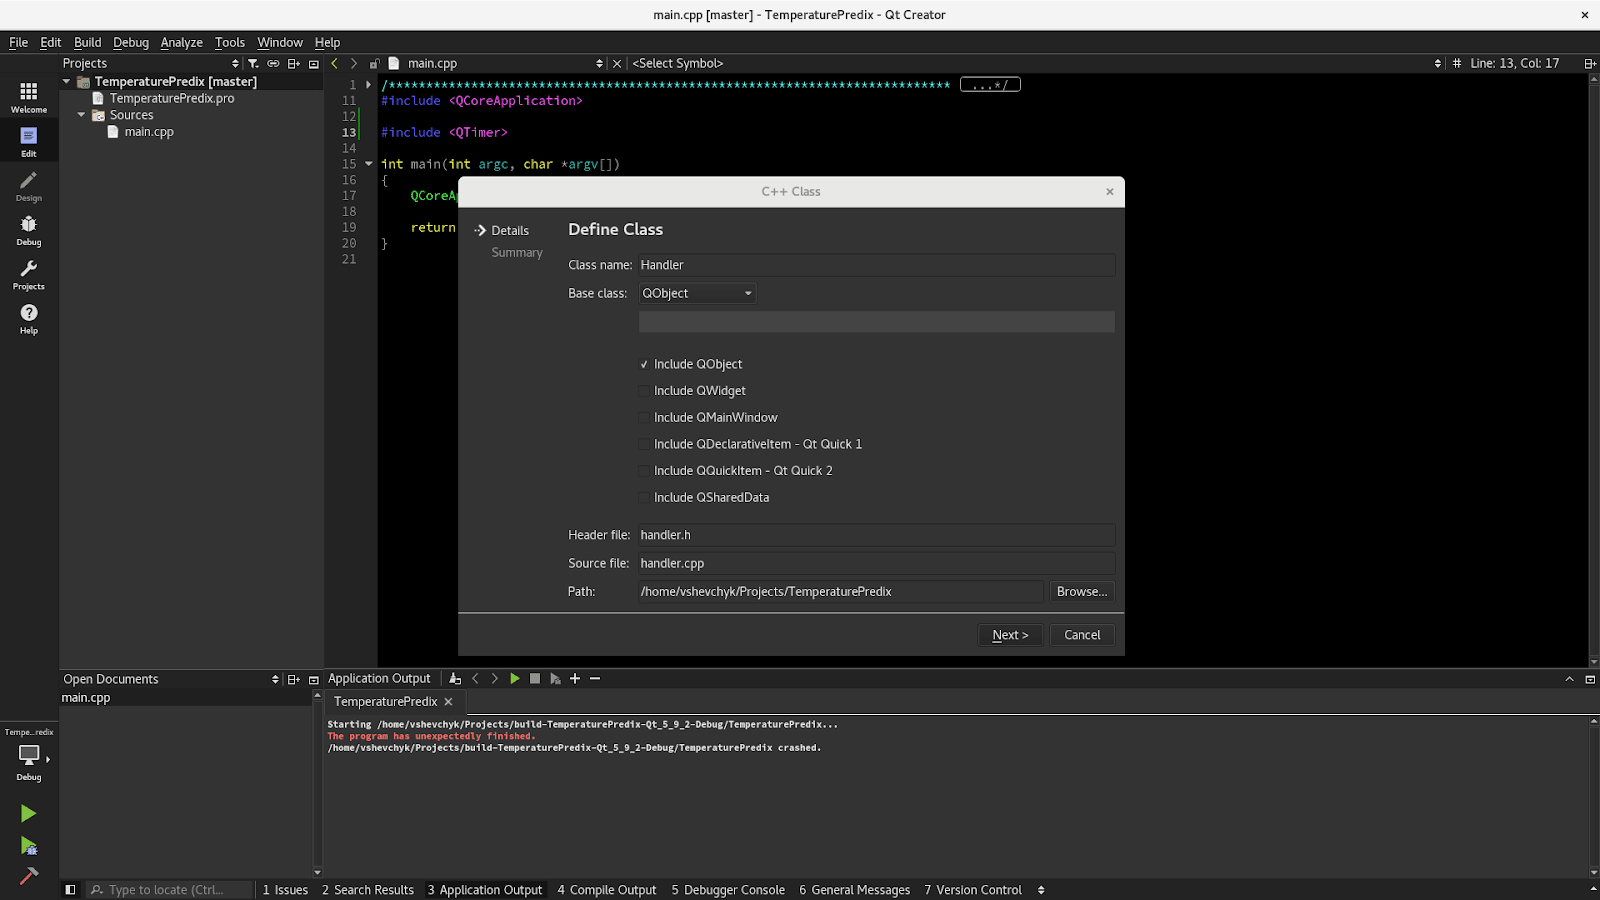
Class QTimer implements the timer functionality, but in order to be able to use its signal timeout() that fires in due time, we need a class that implements slots. So let’s create our class named Handler.
To use signals slots, we should inherit our class from basic class QObject.
To be able to work with serialport, websocket and with network you should go to your *.pro file and make your one step as it is indicated hereinafter:
QT += core serialport network websockets
And to start using QPredix sdk add
include (./QPredix/QPredix.pri)
To *.pro file as the second line.
Now we can start writing code.
handler.h
#ifndef HANDLER_H#define HANDLER_H#include <QObject>#include <QList>class QTimer;class QSerialPort;class QUaa;class QTimeSeries;class Handler : public QObject{ Q_OBJECTpublic: explicit Handler(QObject *parent = 0); ~Handler();private slots: void readyRead(); void startReading();private: void sendDataToCloud(); void initPredix();private: QList <double>mDataList; QTimer *mTimer; QSerialPort *mSerialPort; QUaa *mUaa; QTimeSeries *mTimeSeries;};
handler.cpp
#endif // HANDLER_H#include "handler.h"#include <QTimer>#include <QSerialPort>#include <QSerialPortInfo>#include <QDebug>#include "QPredix/qpredix.h"#include <QJsonDocument>Handler::Handler(QObject *parent) : QObject(parent){ initPredix(); //get all connected devices to USB QList <QSerialPortInfo> lList = QSerialPortInfo::availablePorts(); QSerialPortInfo lInfo; //find if there is connected arduino device foreach (QSerialPortInfo info, lList) { if (info.manufacturer().contains("Arduino")) { // first of all intialize setial port to be able read data lInfo = info; mSerialPort = new QSerialPort; mSerialPort->setPort(lInfo); mSerialPort->setDataBits(QSerialPort::Data8); mSerialPort->setFlowControl(QSerialPort::NoFlowControl); mSerialPort->setParity(QSerialPort::NoParity); mSerialPort->setStopBits(QSerialPort::OneStop); mSerialPort->setBaudRate(QSerialPort::Baud57600); //connect serialport to readyread to read data received from serial port connect(mSerialPort, &QSerialPort::readyRead, this, &Handler::readyRead); // start timer that will start reading each 2 seconds mTimer = new QTimer(this); mTimer->setInterval(2000); mTimer->setSingleShot(false); connect(mTimer, &QTimer::timeout, this, &Handler::startReading); mTimer->start(); //leave constructor after initialisation return; } }}Handler::~Handler(){ //stop and delete mTimer to clear memmory if (mTimer->isActive()) { mTimer->stop(); } delete mTimer; //close and delete mSerialPort to clear memmory if (mSerialPort->isOpen()) { mSerialPort->close(); } delete mSerialPort;}void Handler::readyRead(){ // read received data from serial port QByteArray lArray = mSerialPort->readAll(); //all temperature values are devided with new line \n, so let's separate all temperatures by this symbol QStringList lList = QString(lArray).split("\n"); //delete first and last symbol as it could be corrupted if (lList.count() > 1) { lList.removeFirst(); lList.removeLast(); } else { lList.clear(); } //convert all values to data and store in global list to be able use it in different method foreach (QString value, lList) { mDataList.append(value.toDouble()); } // check if we have enough values to send to cloud if (mDataList.count() > 10) { mSerialPort->close(); sendDataToCloud(); }}void Handler::startReading(){ //clear global list with vlaues and open port to start reading data mDataList.clear(); if (!mSerialPort->open(QIODevice::ReadOnly)) { qDebug() << "Couldn't start device"; }}void Handler::sendDataToCloud(){ //let's find the evarage value of temperature double lTmp = 0; foreach (double value, mDataList) { lTmp += value; } lTmp = lTmp/mDataList.count(); // after we have avarage temperature we can clear global temp list mDataList.clear(); qDebug() << lTmp; // let's add attributes and send data to cloud QMap <QString, QString>lAtt; lAtt.insert("city", "Lviv"); mTimeSeries->sendData("temp", lTmp, 3, lAtt);}void Handler::initPredix(){ // initialising Predix UAA service to have access to cloud QUaaInfo lInfo; lInfo.setUaaUrl("your UAA Uri"); lInfo.setClientCredential("login", “secret”); QUaaUserInfo lUser; lUser.setLogin("login"); lUser.setPassword("password"); mUaa = new QUaa(lInfo); mUaa->loginWithCredentials(lUser); //set timeseries zineid to get access to data storage mTimeSeries = new QTimeSeries(mUaa); mTimeSeries->setZoneID("zoneId");}
main.cpp
#include <QCoreApplication>#include "handler.h"int main(int argc, char *argv[]){ QCoreApplication a(argc, argv); Handler h; return a.exec();}
So now all your data is read and stored in Cloud. Next time we are going to read this data in order to display it (PC or phone).

