
Introduction
We have published a general review of the magic world of the IoT recently. You can find some business aspects in it along with a few technical ones.This time, no any verbiage but a lot of useful things is offered to let you get down to the development. So, let’s begin.
The 21th century is the time of the industrial revolution 4.0 and the IoT is the main component of it. That's why the major digital giants created their own solutions in order not to stand aside that revolution making it succeed. Thus, Google, General Electric, IBM, Amazon, Samsung etc. have created their instruments for a rapid IoT evolution. Each of the company has its own goals and functionalities aimed at achieving the specific goals. For instance, GE concentrated on the industrial IoT. But how to work with it? How to create a high-performance IoT solution with Predix?
All existing instruments are concentrated on speed, so are based on such good instruments as Python, Js, Java, but what about performance? What if you want a speedy solution based on C++? Here you need to spend some extra time to arrange communication with a cloud, or you don’t? No, because GE predix has an opensource C++ framework QPredix.
In this article we will prepare our Predix instance and download ready C++ code where we will need to add our zone-id, uaa url and client credentials.
First of all, you need to register your account. Unlike Google, you don’t need to enter any payment method to register, but unlike IBM you have to wait for an approval from a Predix team. Not every registration can be approved, so be patient after filling in the form is accomplished(https://www.predix.io/registration/).

In about 12 hours you will receive an email from GE if your registration is approved. So creating your services will constitute your next steps. But before creating services, go to Console (Next to signout button).
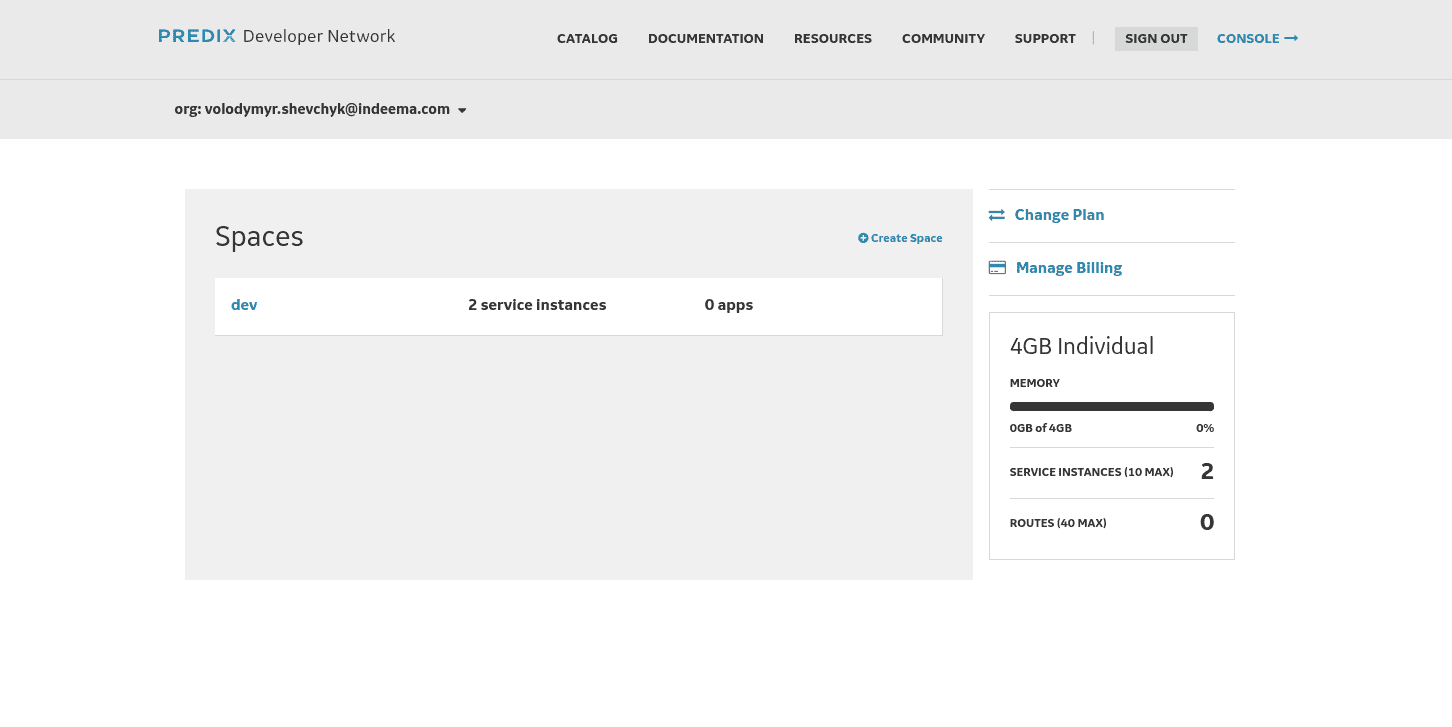
By default you have no any spaces, so you need to create one. Click on Create space button.
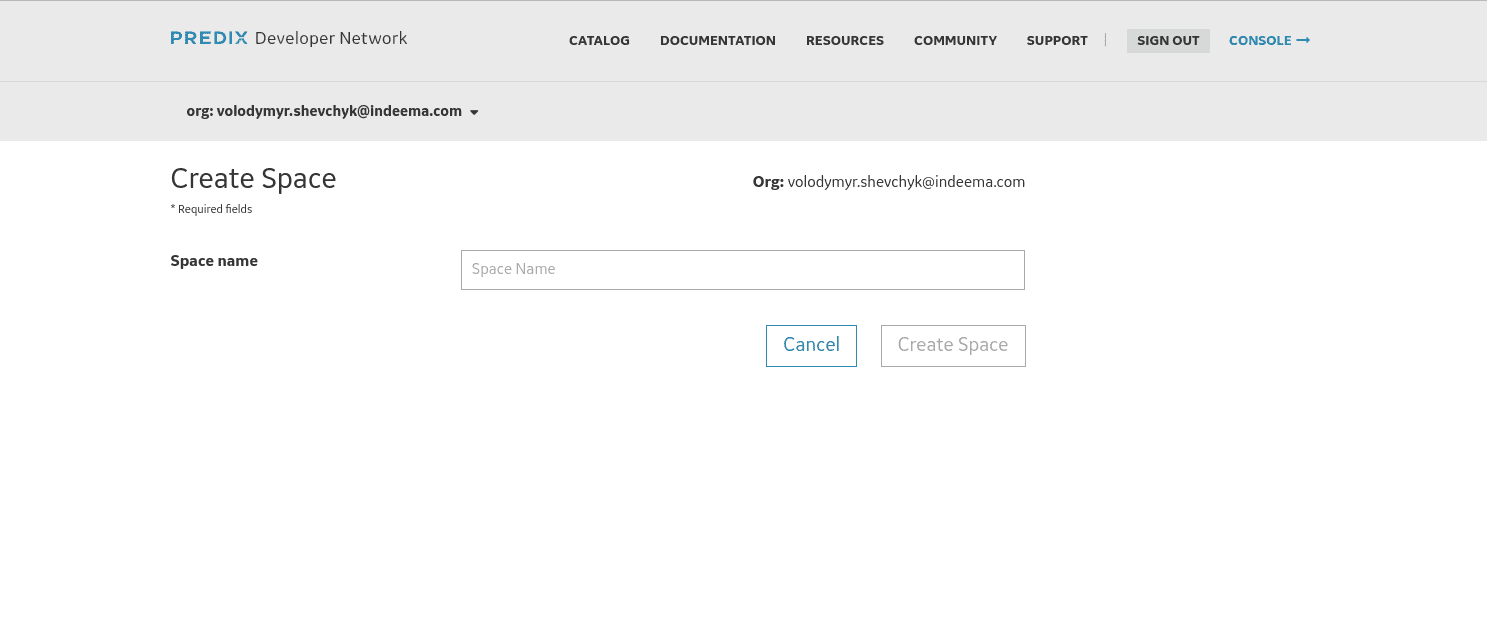 Just set a name you like.
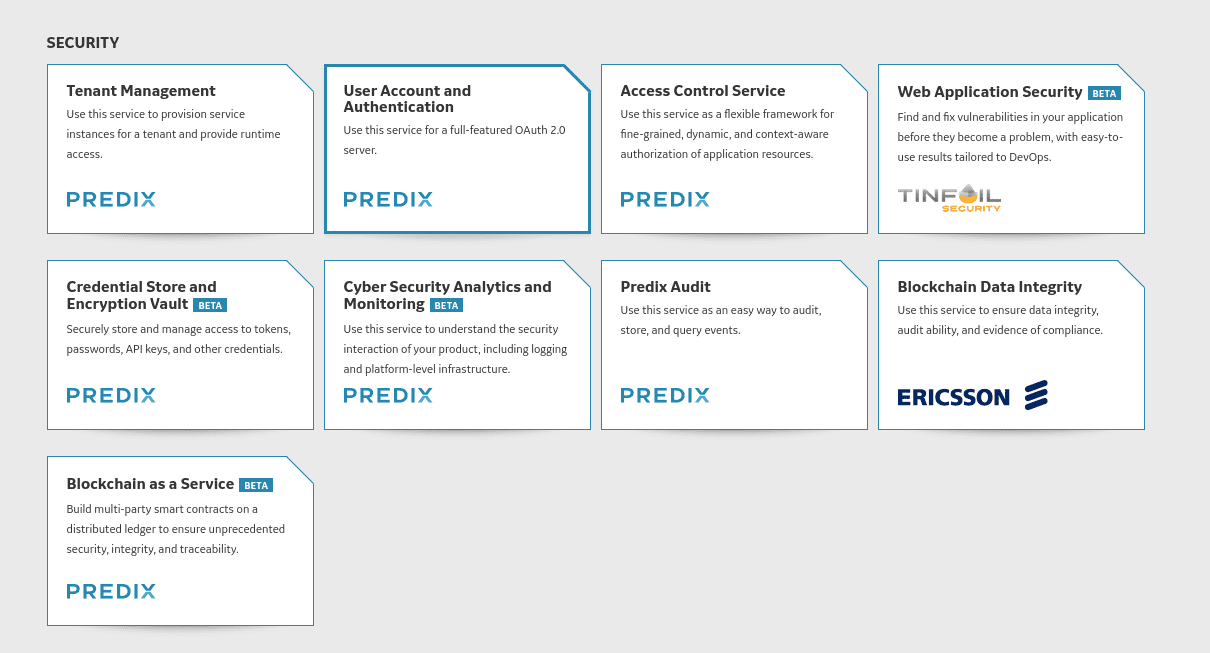
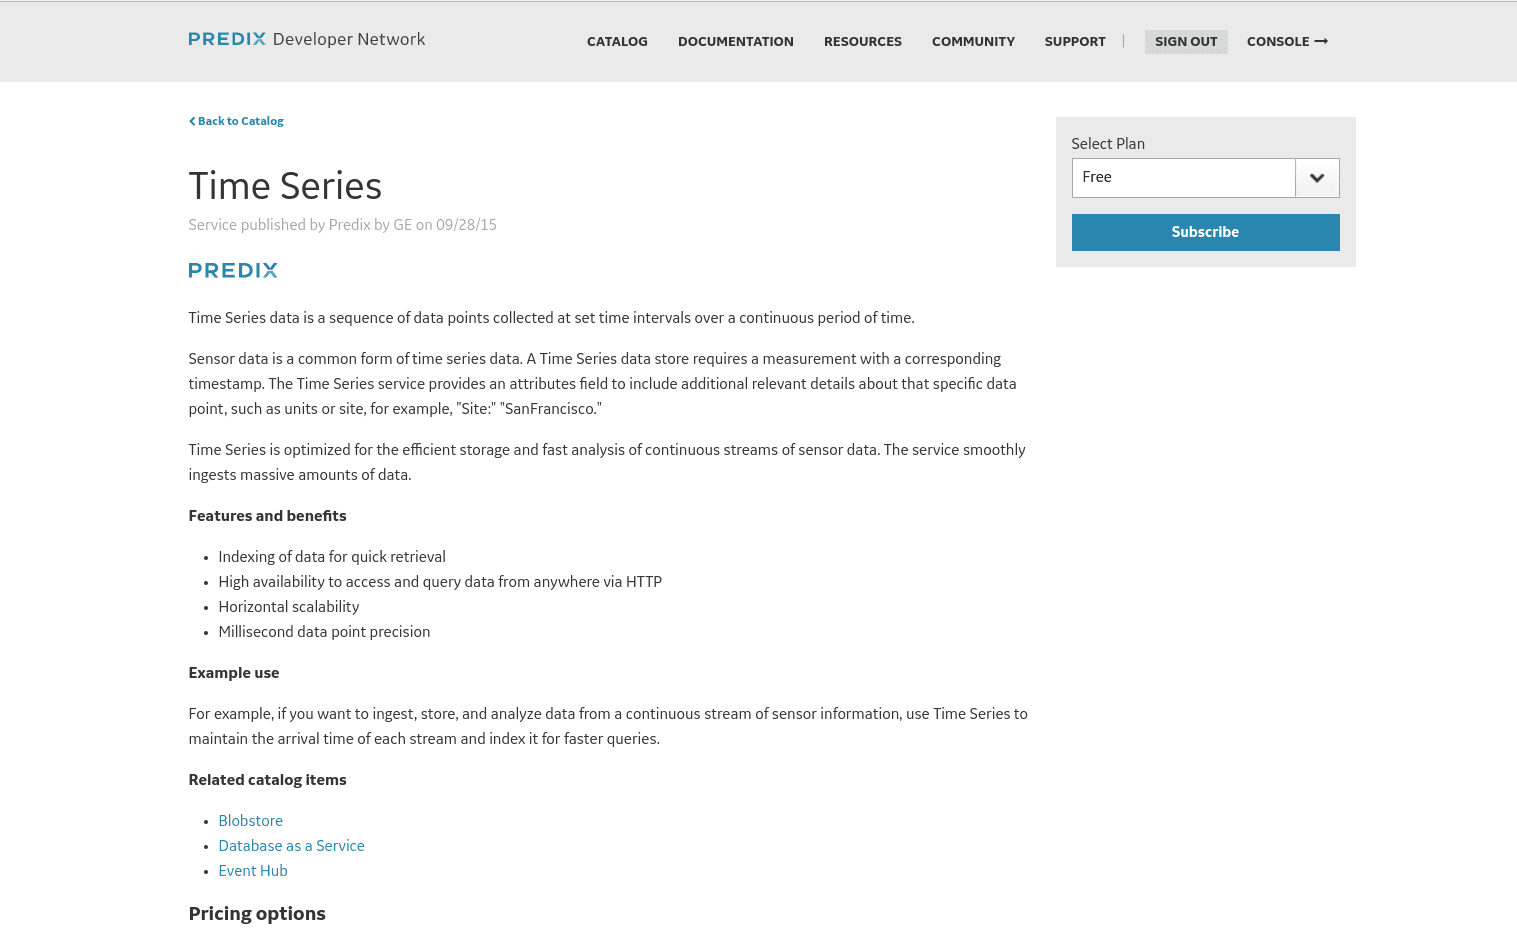
Now go to Catalog → Services.
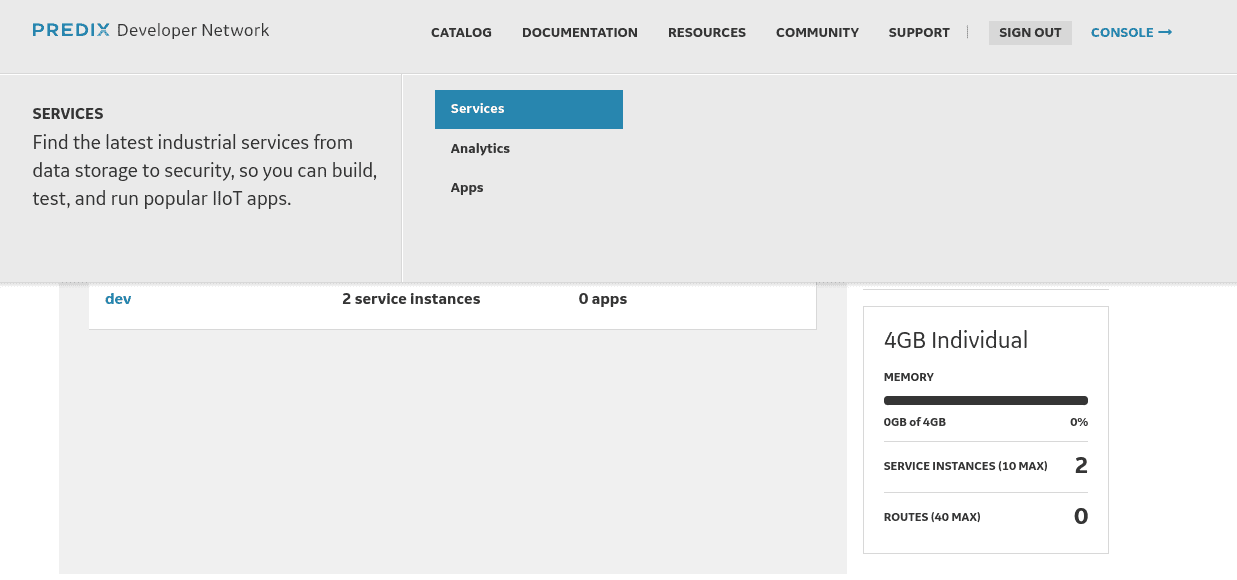 You will get a list of available services provided by Predix.
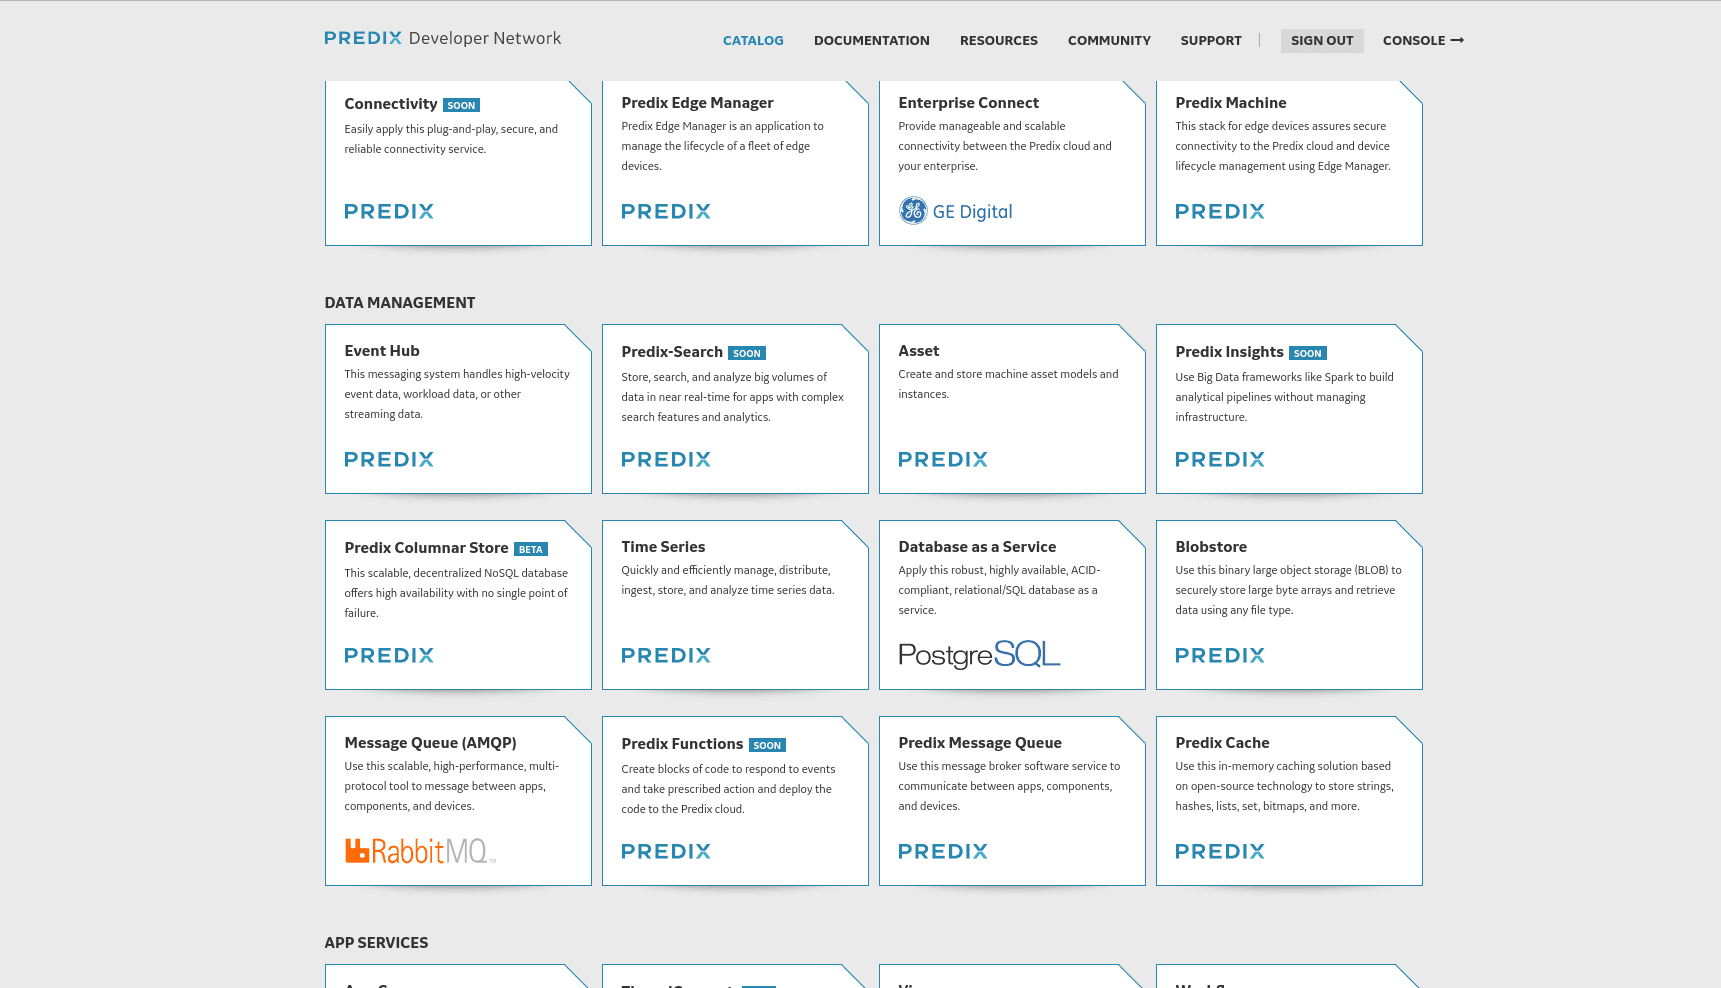
Unlike some other competitors, GE created a marketplace where companies can provide additional services to what GE provides. To create a simple IoT solution which stores time series data you need to create an authentication (Uaa) service and a time series service. These two services are free for a limited-access level, it’s enough for testing.
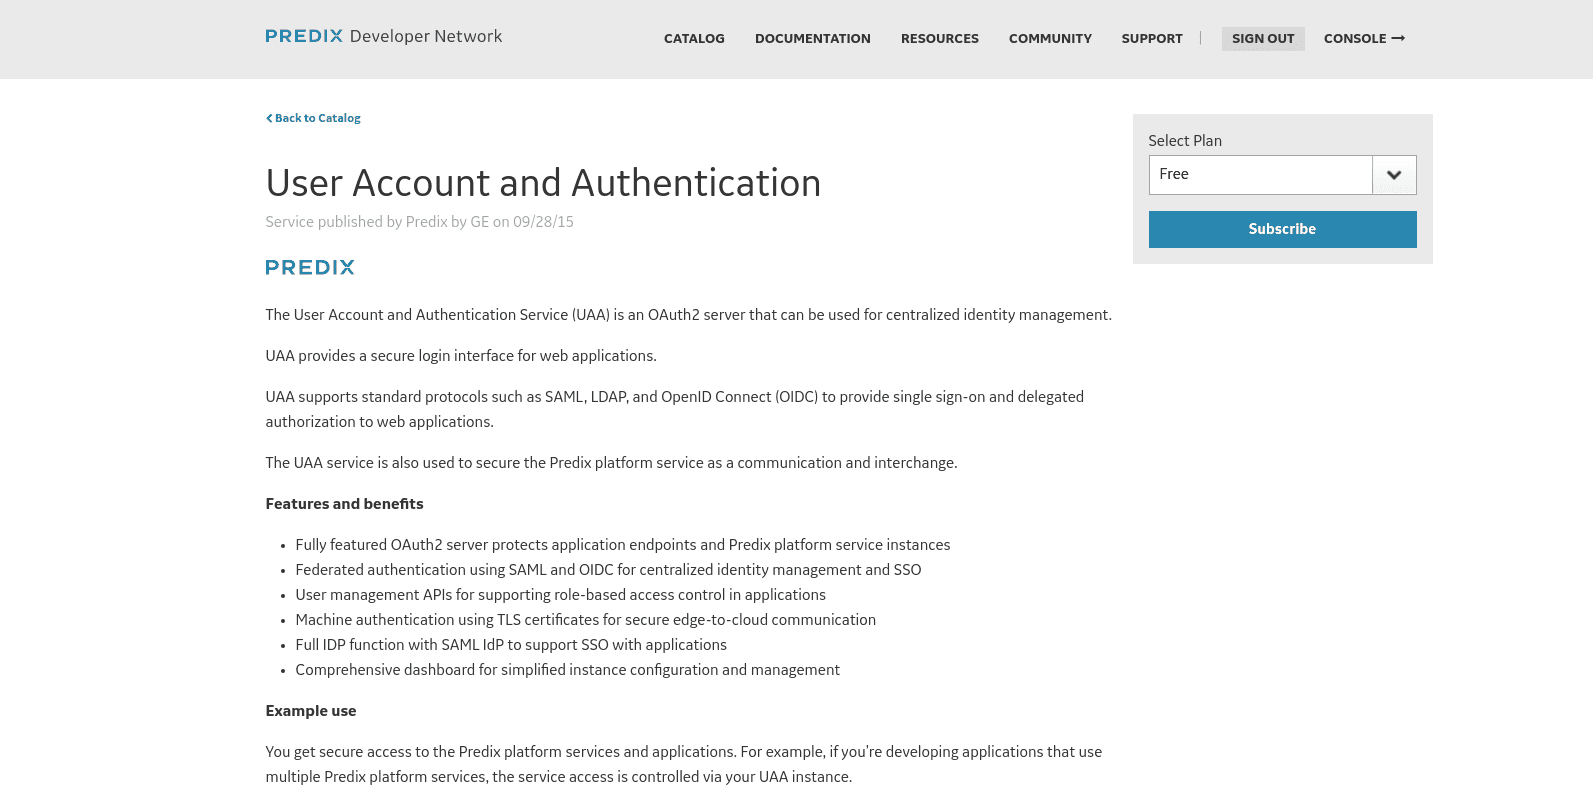
Uaa service in the list.
Next just click subscribe.
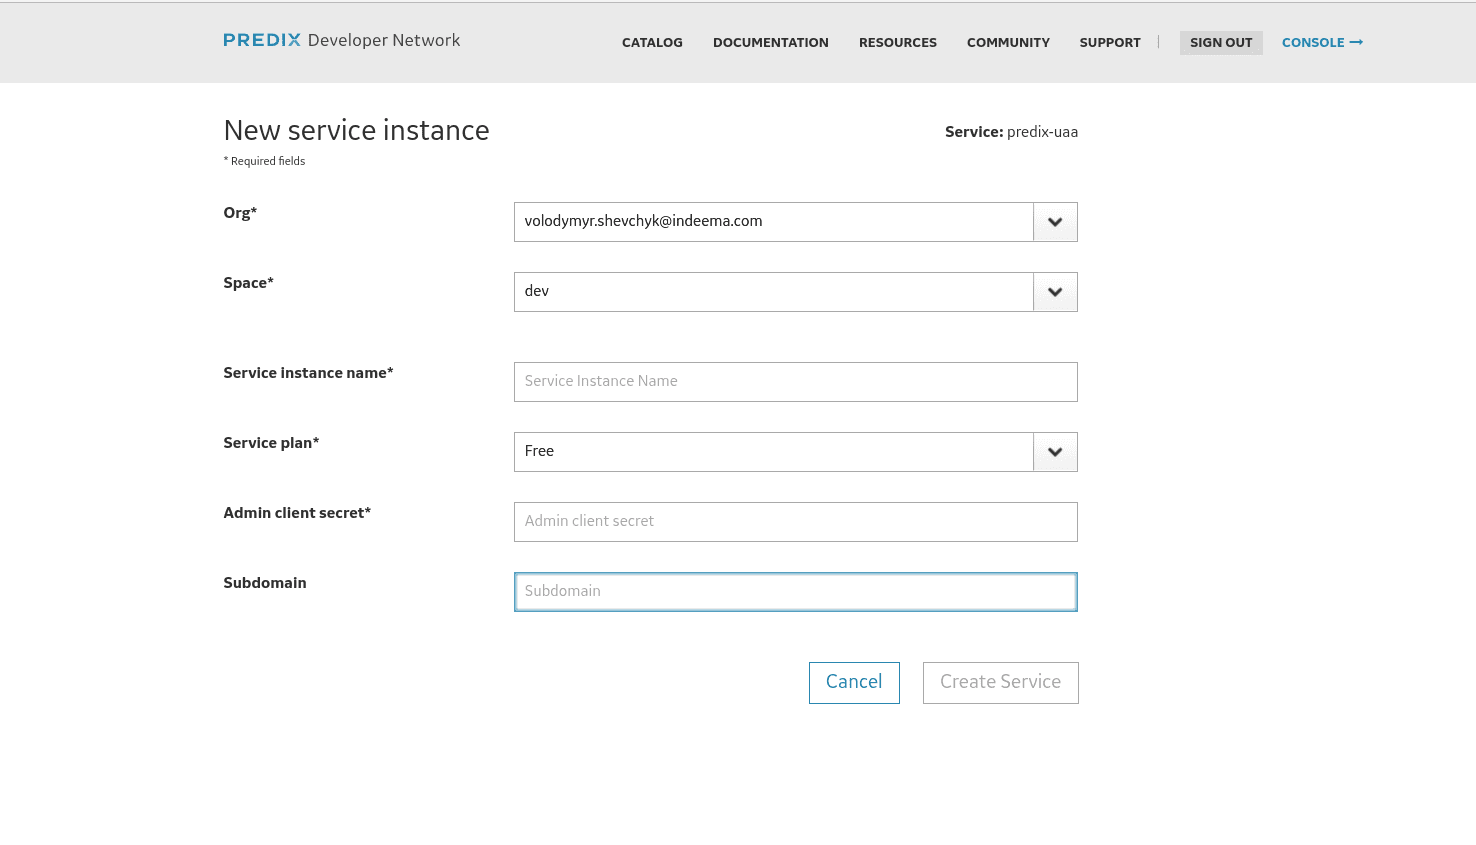
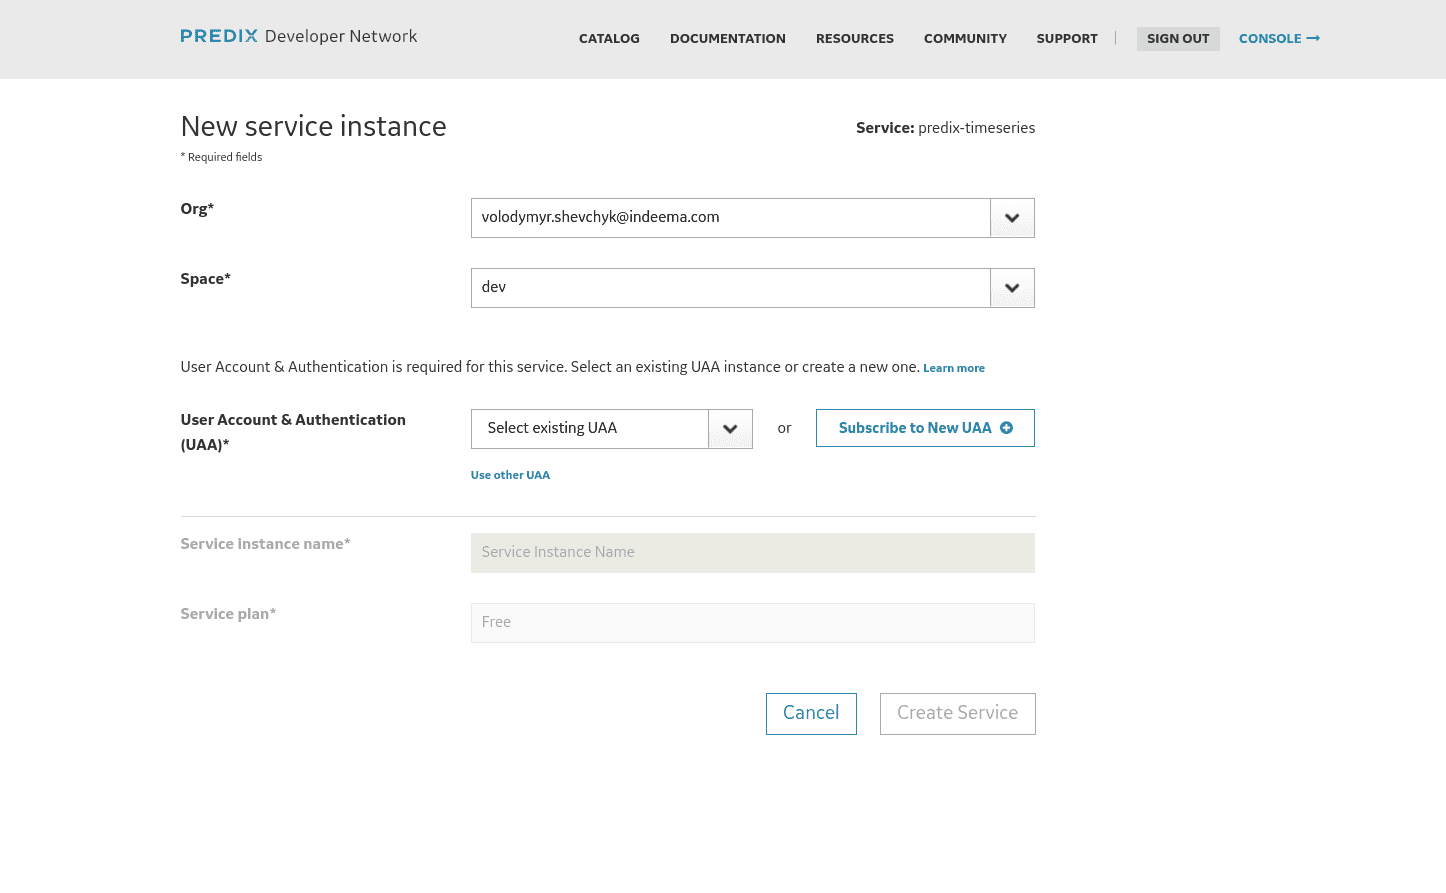
Now you have to setup your service, here you will select your space, your service plan, and a VERY IMPORTANT admin client secret. DON’T LOSE it as you will not be able to reset it, at least for now this function is not available.
 This stage is completed, what we will still need is a timeseries zone-id and it can be done with a Cloud Foundry command line tool. The documentation on how to install this instrument can be found here: https://docs.cloudfoundry.org/cf-cli/install-go-cli.html and here https://github.com/PredixDev/cf-predix.
As CF is installed, we can login to Predix, just open terminal and enter
Linux/MacOS: cf login -a https://api.system.aws-usw02-pr.ice.predix.io
Windows: C:\Users>cf login -a https://api.system.aws-usw02-pr.ice.predix.io
Then your email and password will be requested. These are credentials used to login to Predix console.
Now enter: cf curl /v2/service_instances?q=name:demo_id | grep guid
Where demo_id is your timeseries service id. Your output will be something like:
"guid":"5e5d076e-c8df-412340-a123b3-7ecvdc0a1386ef",
"service_plan_guid": "c0d04b53-88dv4d-4128-sdv205-8249ff8d5dcd",
"space_guid": "e0f639da-c6f5-dsva4-8a7a-61fc5b509ce0",
"service_guid": "68c2383ea-9sdvf-4411-bfb4-01b851e37f34",
guid value is out zone-id, in our case it’s 5e5d076e-c8df-412340-a123b3-7ecvdc0a1386ef. Please save it, you will need it later.
Good, you have created predix-uaa, to start using other services securely. Now let’s create a time series service, go to Catalog → Services again.
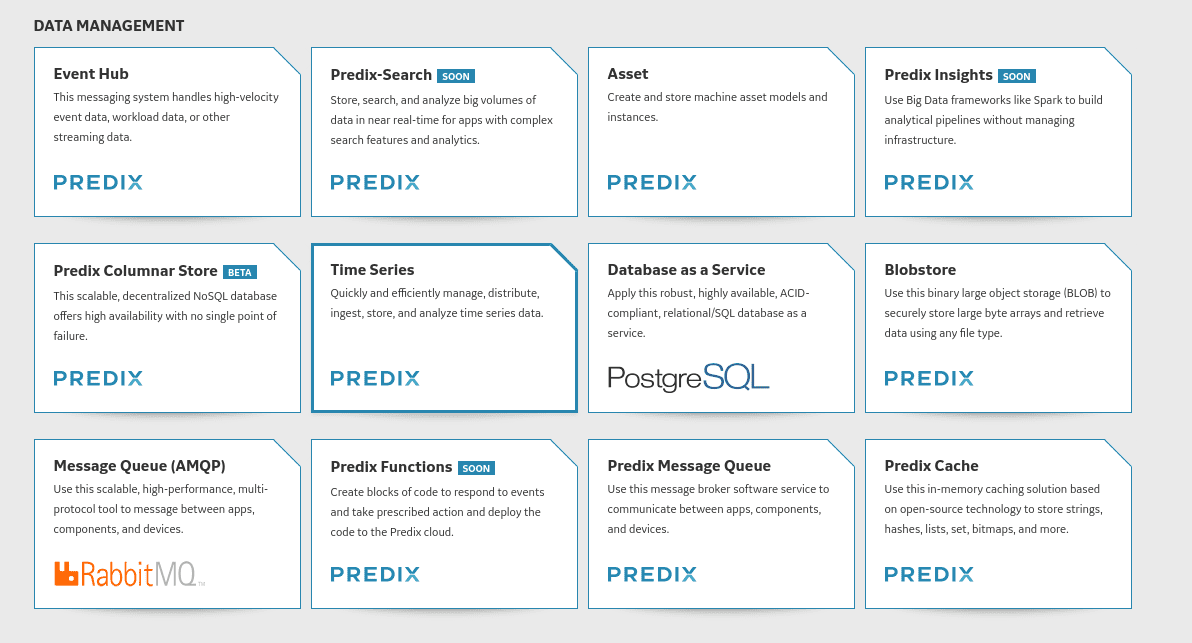
1. TimeSeries service
Just subscribe.
Select your space and create a new Uaa service or select the one we have just created.
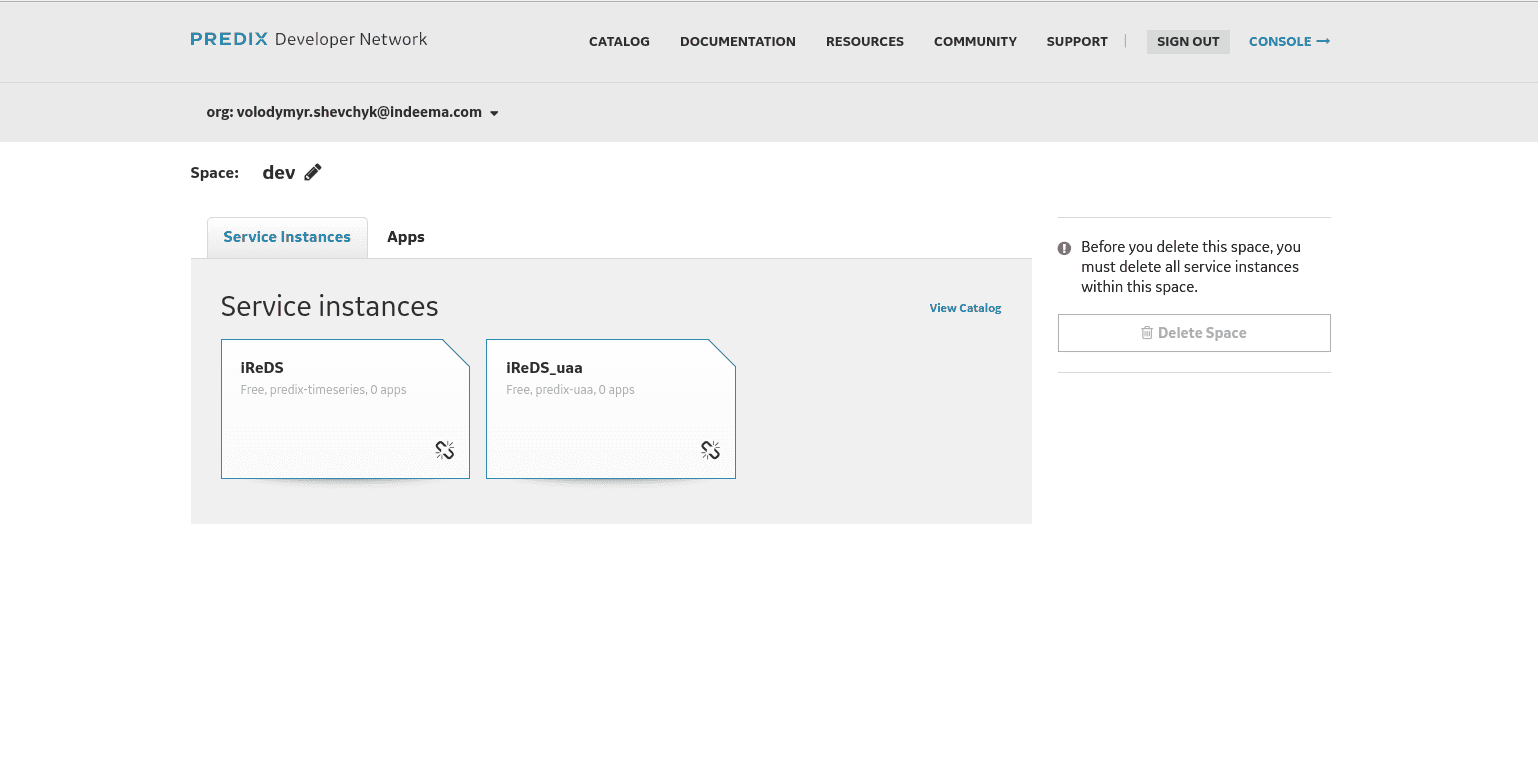
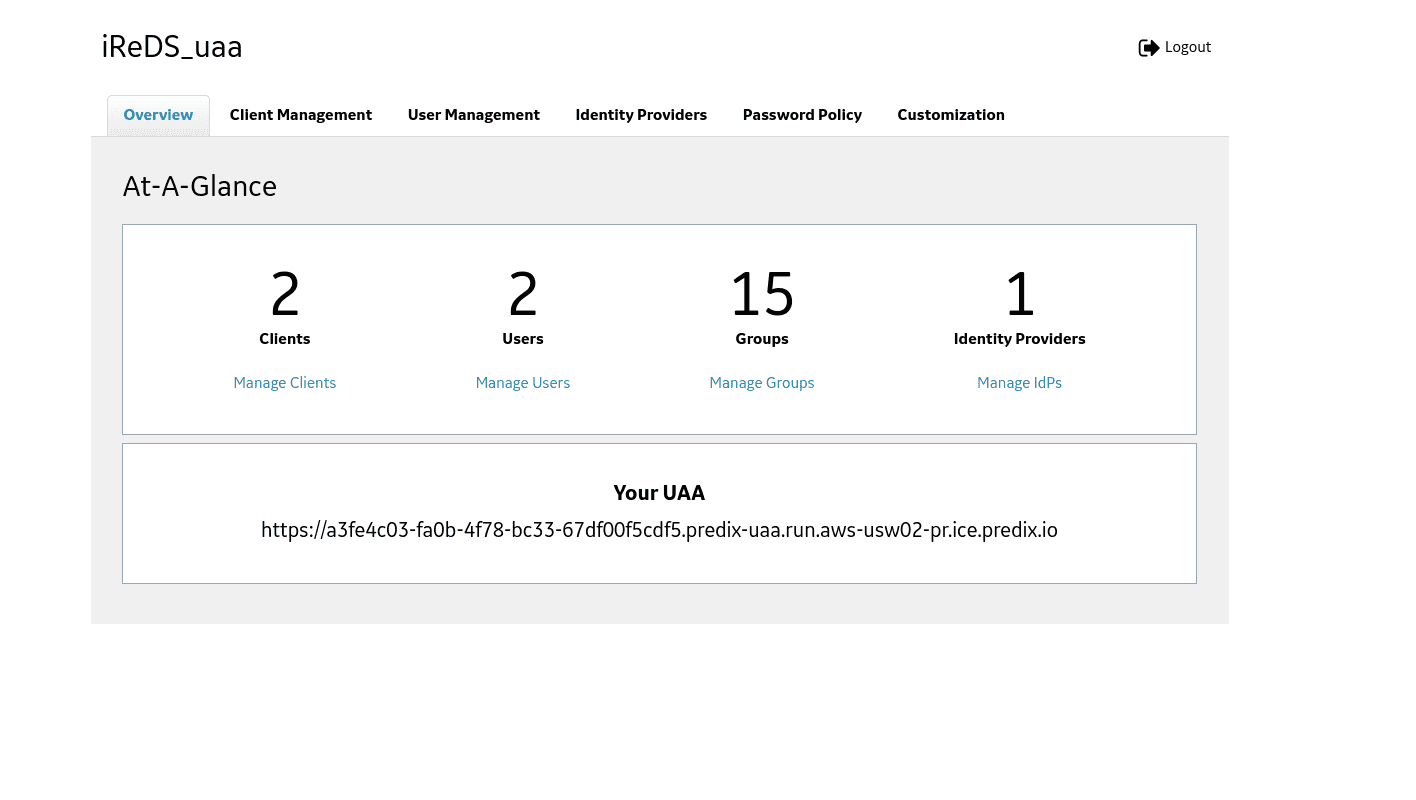
 Great, now our services are ready, so we can start using them. Go to your console again, and click on space you have created. You will see a list of available services:
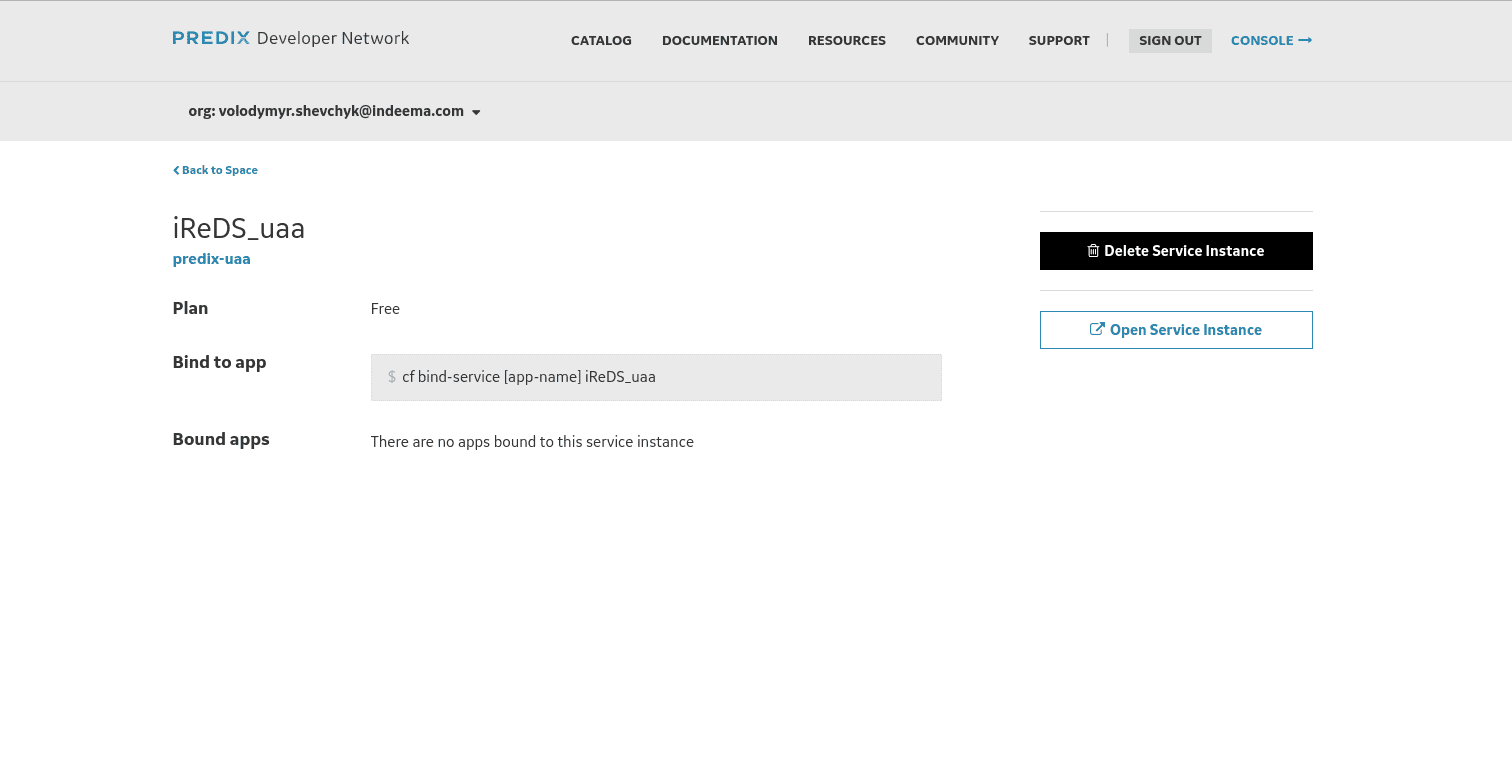
Now let’s configure our uaa service for use, just click on uaa service.
2. Open Service instance
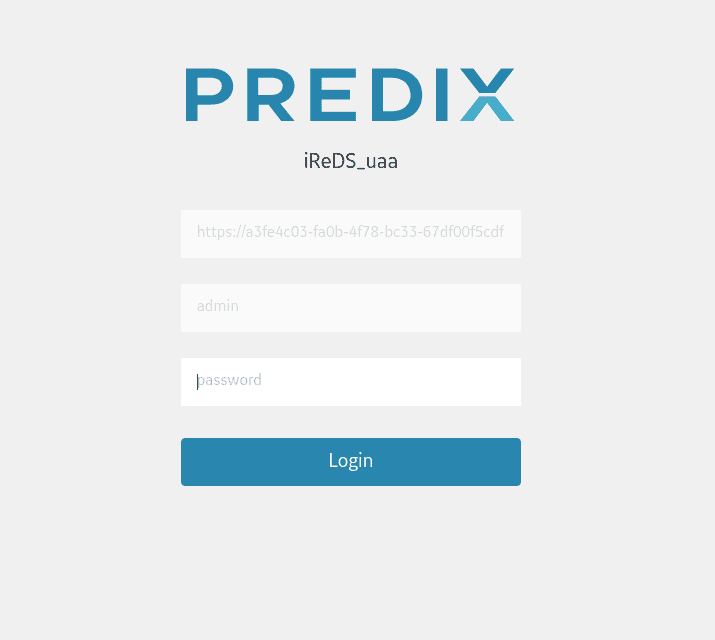
Your password is a source access to a uaa service registration page. The first field contains your unique url that will be used for authentication, so you can copy it.
Here is your uaa service configure page.
 Here you will need to create a client id and user id. The client allows to access to services and clients is a list of users who can log in to your service. First let’s create Client id, go to Client Management and Create Client button.
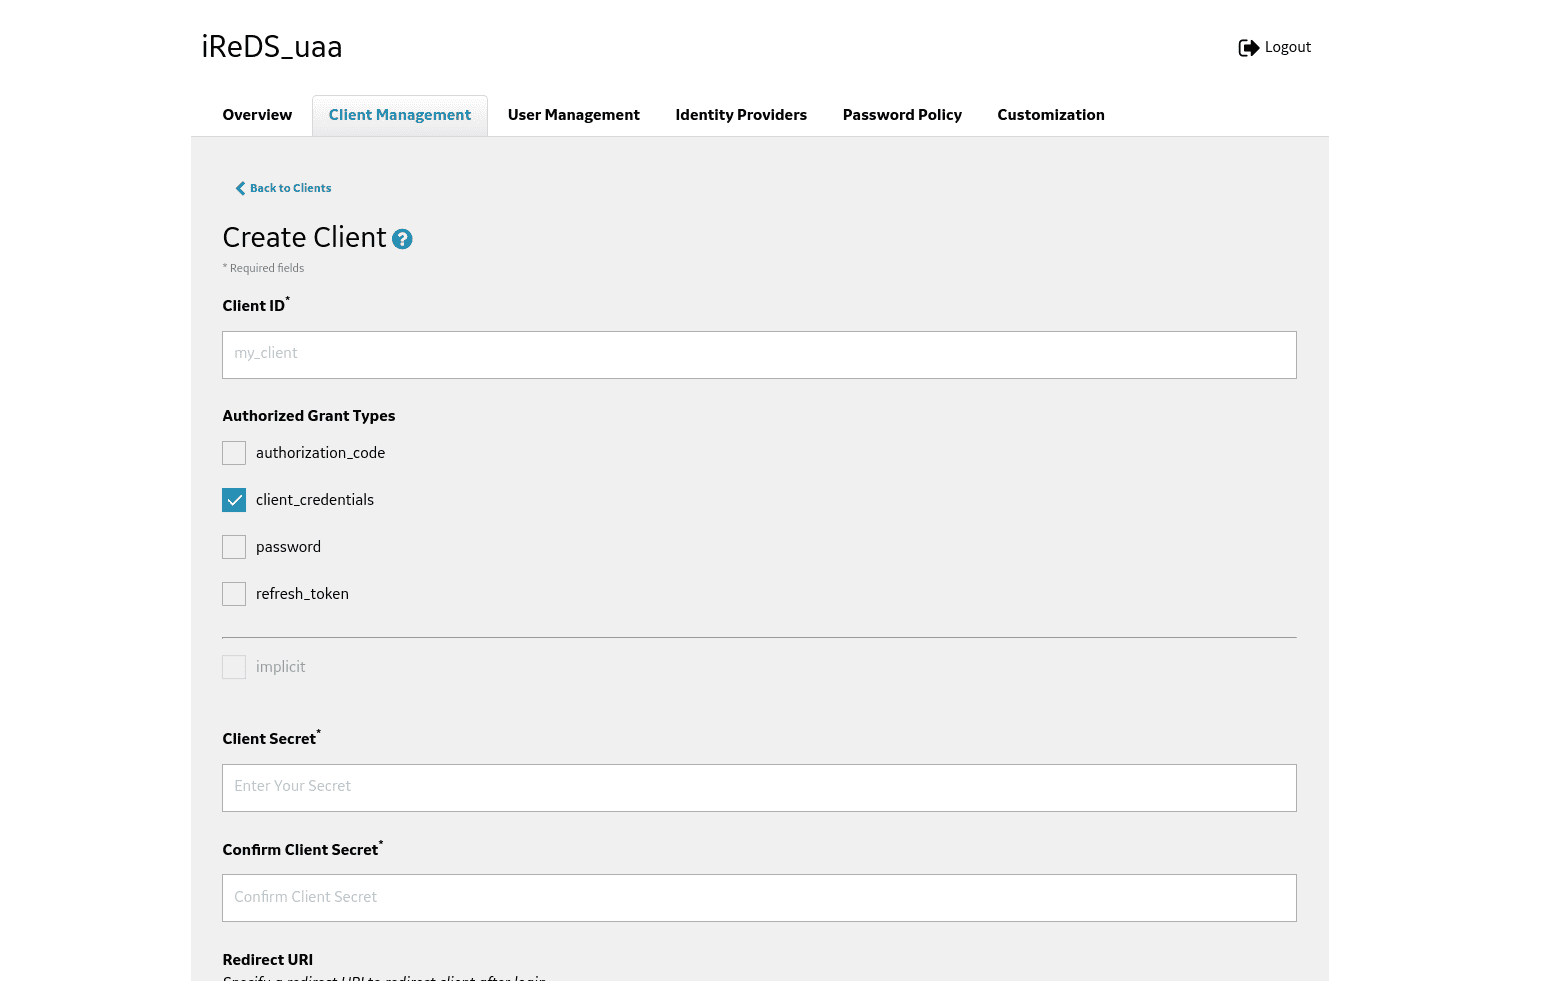
Enter client id, and client secret and save it, since you will not be able to change it or check later.
Field Redirect URI specifies URI a redirection in order to the client after login or logout (for example, http://example-app.com/callback). Use this URI when you start using UAA as a service provider for your external Identity provider. UAA uses the value of Redirect URI for /oauth/authorize and /logout endpoints.
You must specify a Redirect URI value if you use the Authorization Code or Implicit authorization grant type. When you use the Authorization Code grant type, the Redirect URI is your application's endpoint or callback that requires user authorization code. When you use the Implicit grant type, the Redirect URI is the end point where UAA sends the bearer token.
Unique Resource Identifier consists of:
- Access Protocol, http or https
- Domain or IP address
- Access Port such as 80 or 443
- Path
If you have a specific URL for your application callback, you can use that to set the Redirect URI value for the related client.
For example,
You can specify multiple values for Redirect URI as a list of allowed destinations that UAA server can redirect the users.
For example,
- https://yourappdomain1.run.aws-usw02-pr.ice.predix.io/path1/path2/callback,
- https://yourappdomain2.run.aws-usw02-pr.ice.predix.io/path1/path2/callback.
If the subdomain of your application is dynamic, you can set the value of Redirect URI using wilcards.
For example,
You need to set next parameters:
- timeseries.zones.<your-timeseries-zone-id>.user
- timeseries.zones.<your-timeseries-zone-id>.ingest
- timeseries.zones.<your-timeseries-zone-id>.query
Your-timeseries-zone-id - we discussed above how to get this value.
Next fields are very important as they specify access to services.
Scopes are the permissions associated with an OAuth Client to determine user’s access to a resource through an application. The user permissions are used for authorization grant types authorization_code, password and implicit.
By default, the admin client is assigned to all required scopes. For a new client, an administrator can select the scopes to be added based on client requirements.
For a list of available scopes, see Scopes Authorized by the UAA.
To use an OAuth2 client for your Predix Platform service instance, you must update your OAuth2 client to add scopes that are specific to each service after adding the client to the service instance.
Authorities are the permissions associated with the OAuth Client when an application or API is acting on its own on behalf of a user to access a resource with its own credentials, without user involvement. The permissions are needed for the client_credentials authorization grant type.
By default, the admin client is assigned to all required authorities. For a new client, an administrator can select the authorities to be added basing on client requirements.
The list of authorities matches the list of scopes. For a list of available UAA scopes, see Scopes Authorized by the UAA.
To use an OAuth2 client for your Predix Platform service instance, you must update your OAuth2 client to add authorities that are specific to each service after adding the client to the service instance.
Auto approved scope specifies the scopes that can be approved automatically by the client without an explicit approval from a resource owner.
Allowed Providers specifies the names of the external identity providers if any. This field is required if you are using external identity providers with UAA as a service provider.
Access token validity Specifies the access-token expiration time in ms.
Refresh token validity Specifies the refresh-token expiration time in ms.
Now let’s create a user, go to user management and click create user.
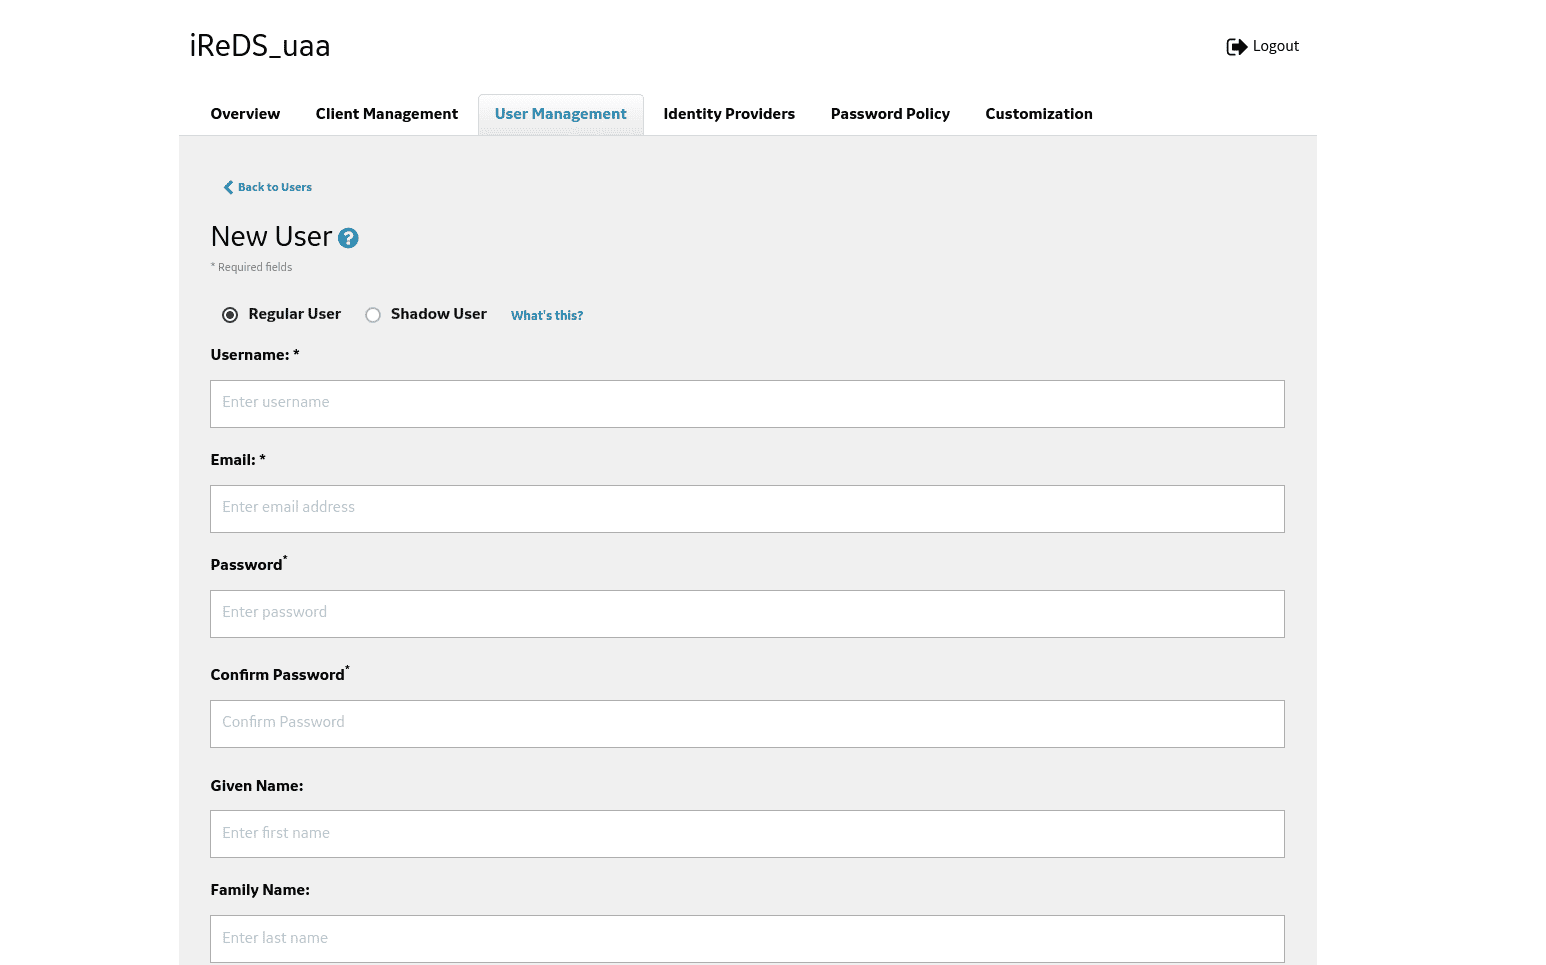
Enter login, email, and password. Don’t forget about the save button.
Conclusion
Ok, now we are ready to start development with C++. In our sample we will use popular IoT framework Qt - https://www.qt.io/, with QPredix framework to communicate with Predix - https://github.com/IndeemaSoftware/QPredix, along with the QPredix framework you can find a sample application which you can run, by adding only your uaa url, client id and secret, and zone-id.

